Today we’re going to create an AI chatbot using JTBDOS and the built-in AI package, powered by Vercel AI SDK.
1. Create a new project
npx JTBDOS@latest init ai-chatbot
ai-chatbot and install the necessary dependencies.
Follow the guide on Environment Variables to fill in your environment variables.
Specifically, make sure you set an OPENAI_API_KEY environment variable.
Make sure you have some credits in your OpenAI account.
3. Create the chatbot UI
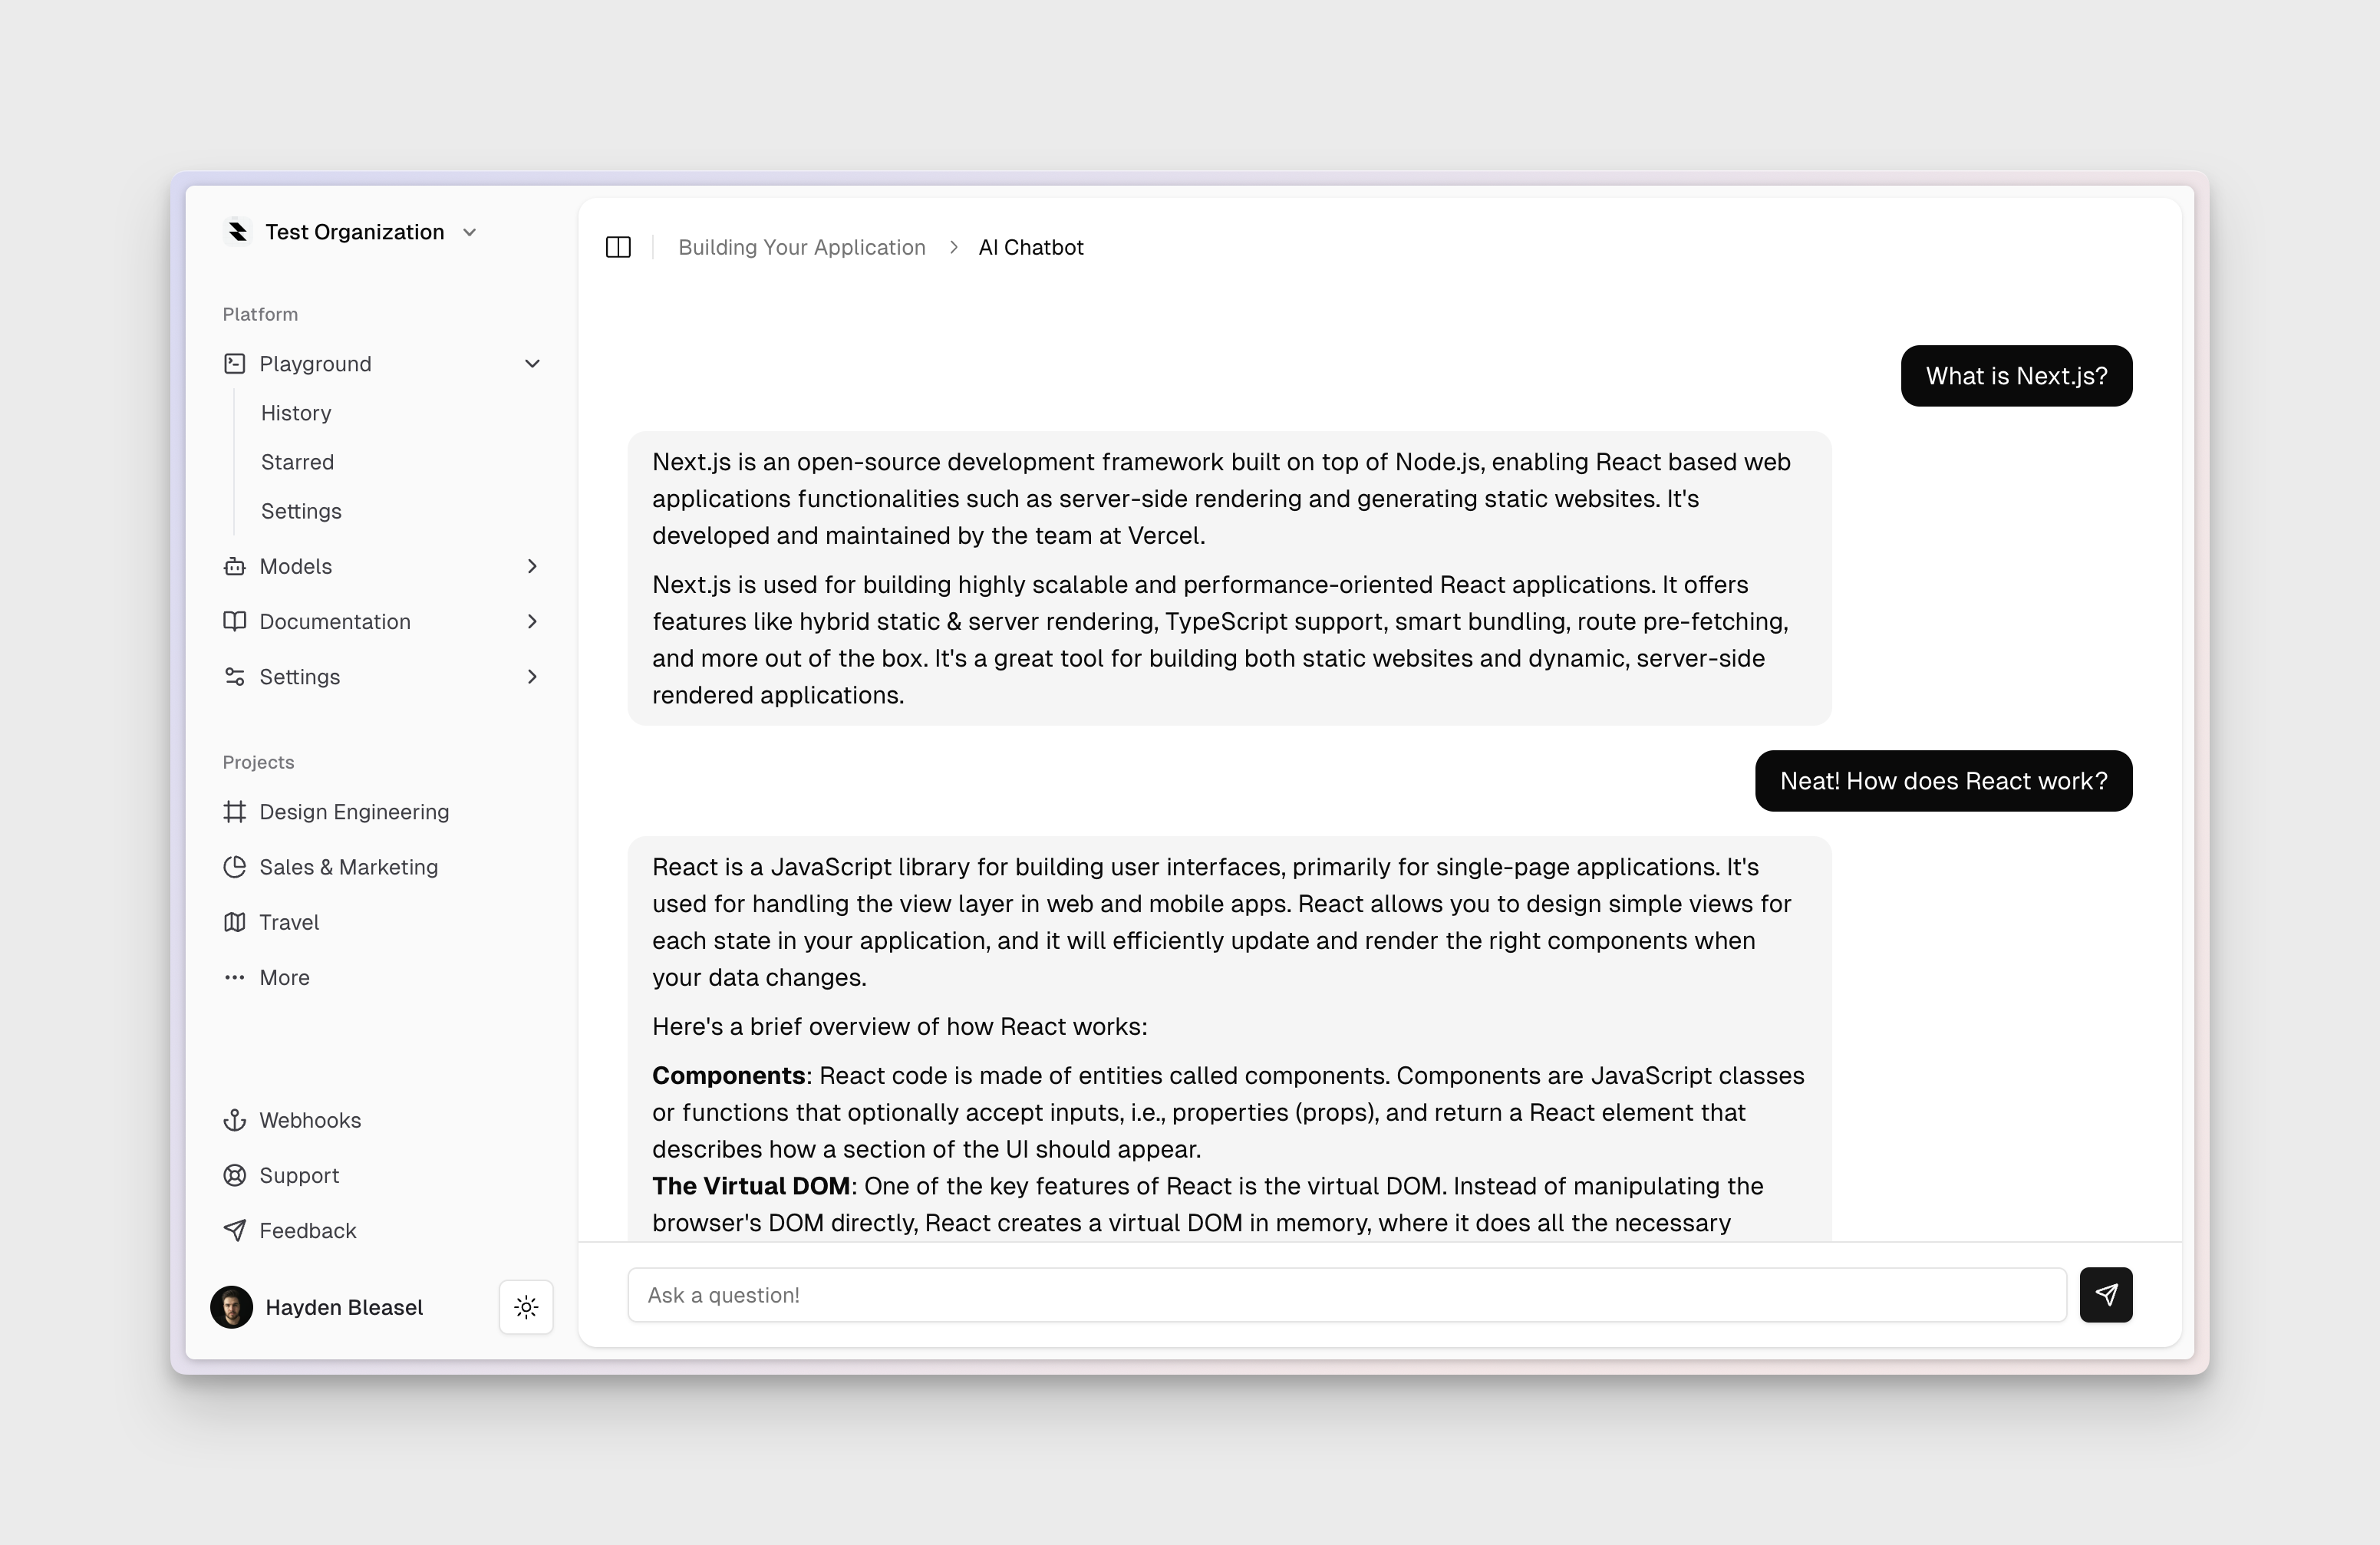
We’re going to start by creating a simple chatbot UI with a text input and a button to send messages.
Create a new file called Chatbot in the app/components directory. We’re going to use a few things here:
useChat from our AI package to handle the chat logic.Button and Input components from our Design System to render the form.Thread and Message components from our AI package to render the chat history.handleError from our Design System to handle errors.SendIcon from lucide-react to create a send icon.
apps/app/app/(authenticated)/components/chatbot.tsx
'use client';

import { Message } from '@repo/ai/components/message';
import { Thread } from '@repo/ai/components/thread';
import { useChat } from '@repo/ai/lib/react';
import { Button } from '@repo/design-system/components/ui/button';
import { Input } from '@repo/design-system/components/ui/input';
import { handleError } from '@repo/design-system/lib/utils';
import { SendIcon } from 'lucide-react';

export const Chatbot = () => {
  const { messages, input, handleInputChange, isLoading, handleSubmit } =
    useChat({
      onError: handleError,
      api: '/api/chat',
    });

  return (
    <div className="flex h-[calc(100vh-64px-16px)] flex-col divide-y overflow-hidden">
      <Thread>
        {messages.map((message) => (
          <Message key={message.id} data={message} />
        ))}
      </Thread>
      <form
        onSubmit={handleSubmit}
        className="flex shrink-0 items-center gap-2 px-8 py-4"
        aria-disabled={isLoading}
      >
        <Input
          placeholder="Ask a question!"
          value={input}
          onChange={handleInputChange}
        />
        <Button type="submit" size="icon" disabled={isLoading}>
          <SendIcon className="h-4 w-4" />
        </Button>
      </form>
    </div>
  );
};
4. Create the chatbot API route
Create a new file called chat in the app/api directory. This Next.js route handler will handle the chatbot’s responses.
We’re going to use the streamText function from our AI package to stream the chatbot’s responses to the client. We’ll also use the provider function from our AI package to get the OpenAI provider, and the log function from our Observability package to log the chatbot’s responses.
apps/app/app/api/chat/route.ts
import { streamText } from '@repo/ai';
import { log } from '@repo/observability/log';
import { models } from '@repo/ai/lib/models';

export const POST = async (req: Request) => {
  const body = await req.json();

  log.info('🤖 Chat request received.', { body });
  const { messages } = body;

  log.info('🤖 Generating response...');
  const result = streamText({
    model: models.chat,
    system: 'You are a helpful assistant.',
    messages,
  });

  log.info('🤖 Streaming response...');
  return result.toDataStreamResponse();
};
5. Update the app
Finally, we’ll update the app/page.tsx file to be a simple entry point that renders the chatbot UI.
apps/app/app/(authenticated)/page.tsx
import { auth } from '@repo/auth/server';
import type { Metadata } from 'next';
import { notFound } from 'next/navigation';
import { Chatbot } from './components/chatbot';
import { Header } from './components/header';

const title = 'Acme Inc';
const description = 'My application.';

export const metadata: Metadata = {
  title,
  description,
};

const App = async () => {
  const { orgId } = await auth();

  if (!orgId) {
    notFound();
  }

  return (
    <>
      <Header pages={['Building Your Application']} page="AI Chatbot" />
      <Chatbot />
    </>
  );
};

export default App;
6. Run the app
Run the app development server and you should be able to see the chatbot UI at http://localhost:3000.
That’s it! You’ve now created an AI chatbot using JTBDOS and the built-in AI package. If you have any questions, please reach out to me on Twitter or open an issue on GitHub.